|
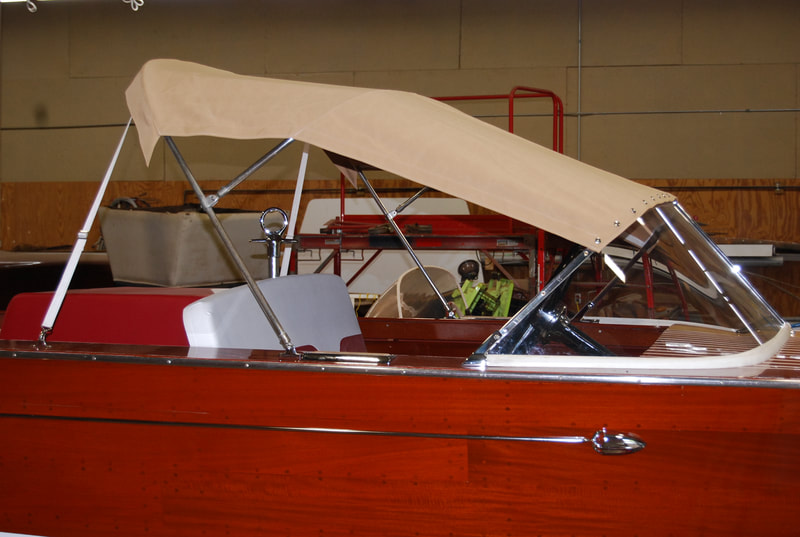
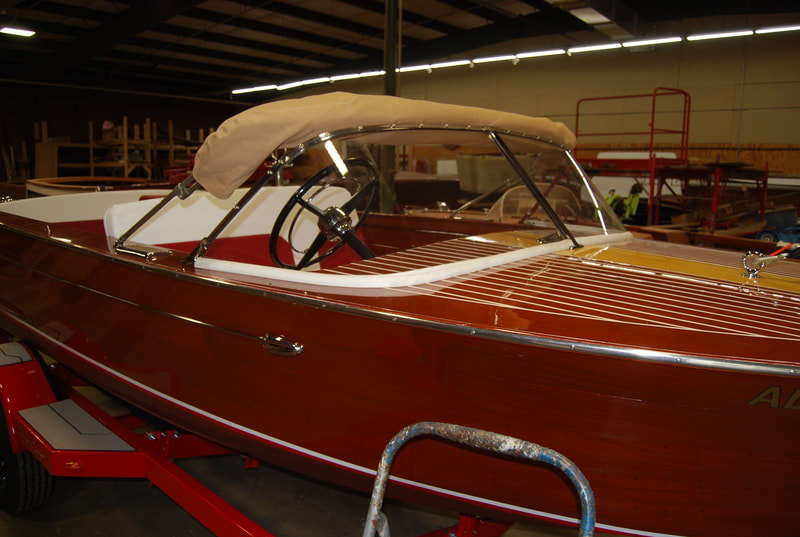
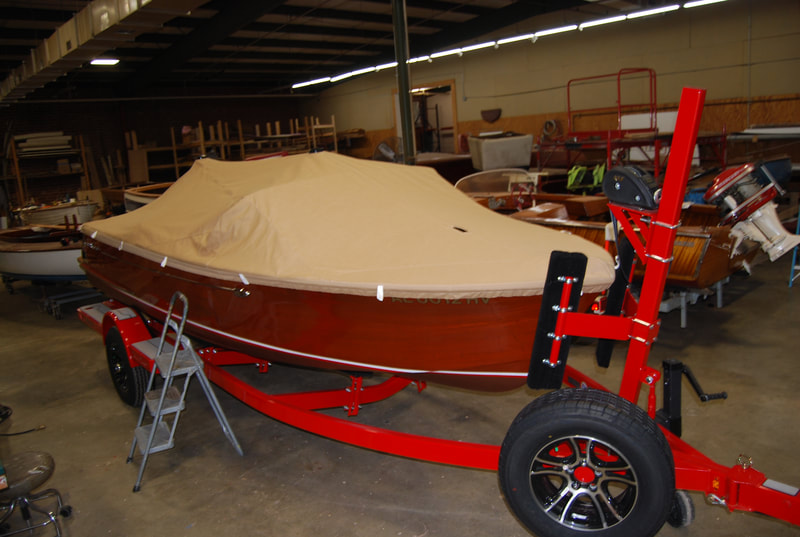
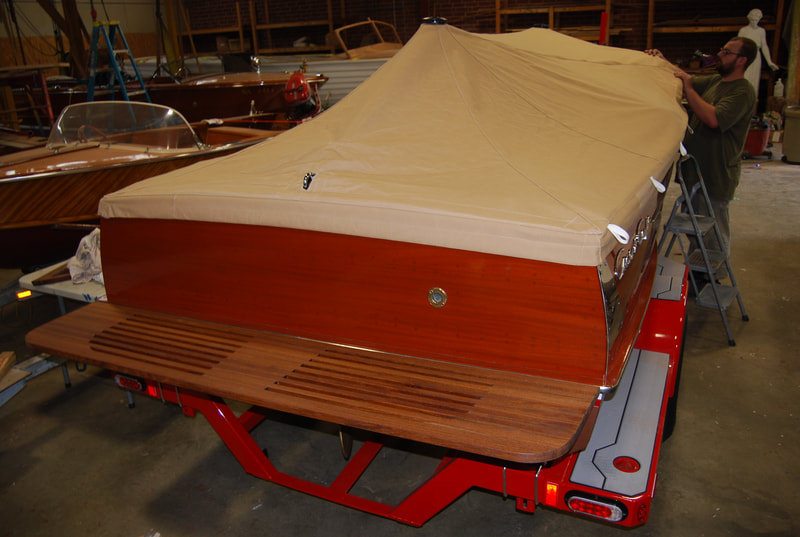
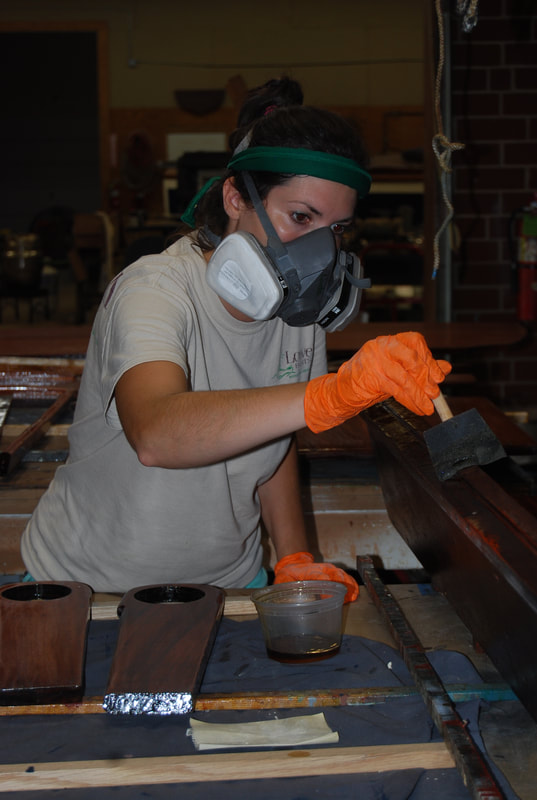
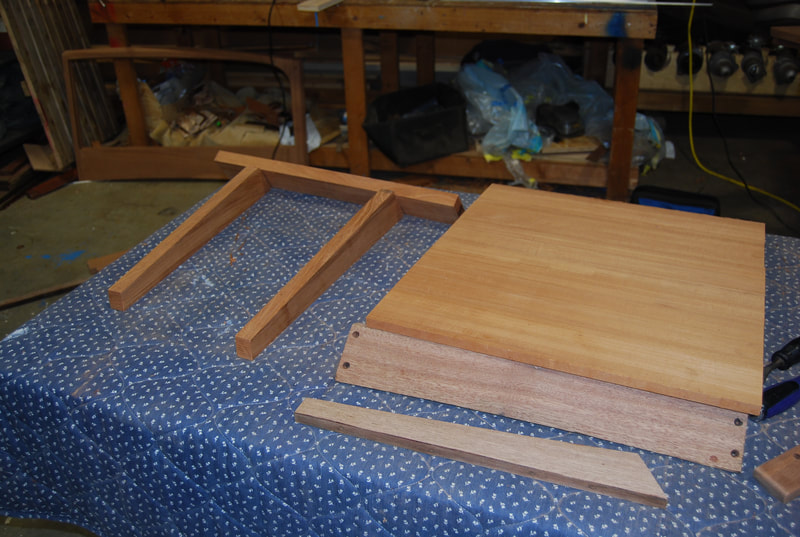
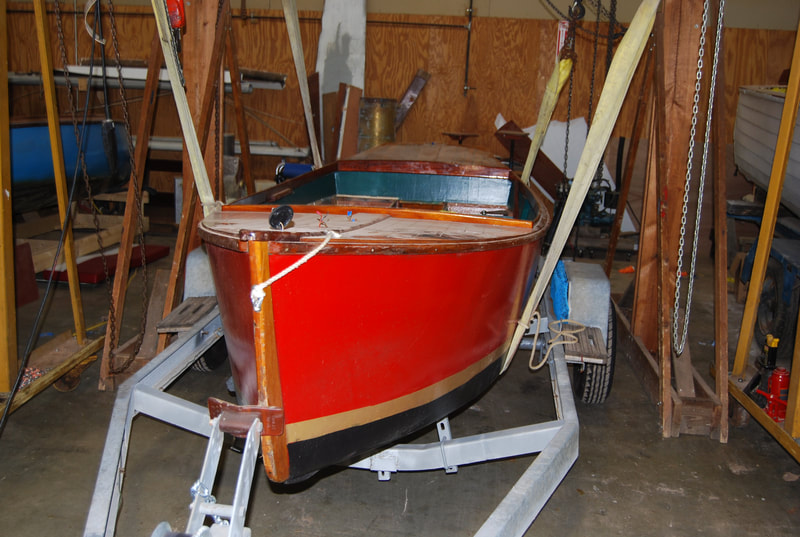
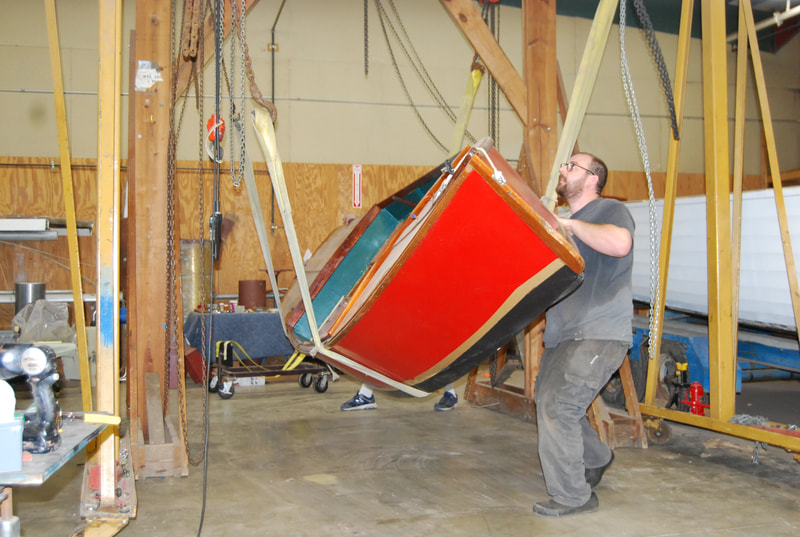
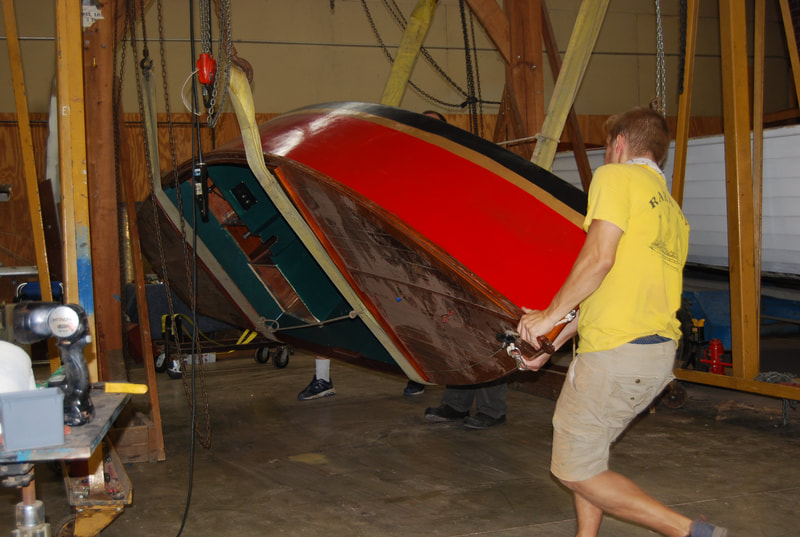
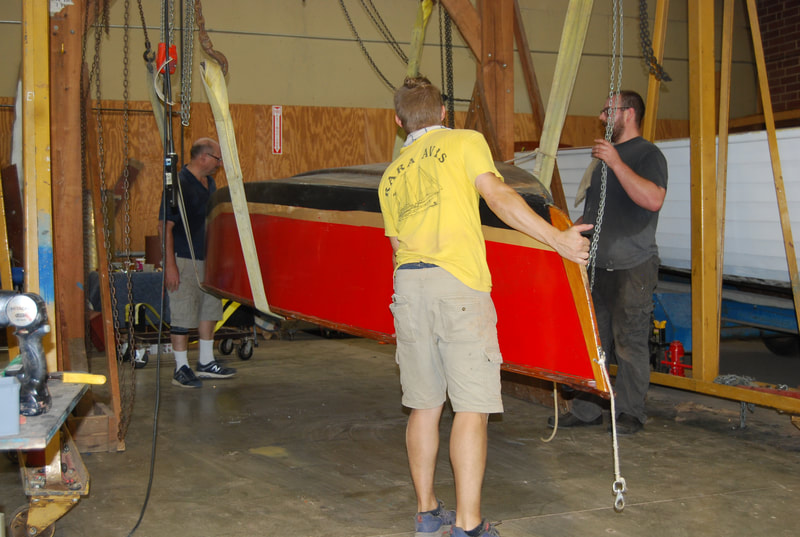
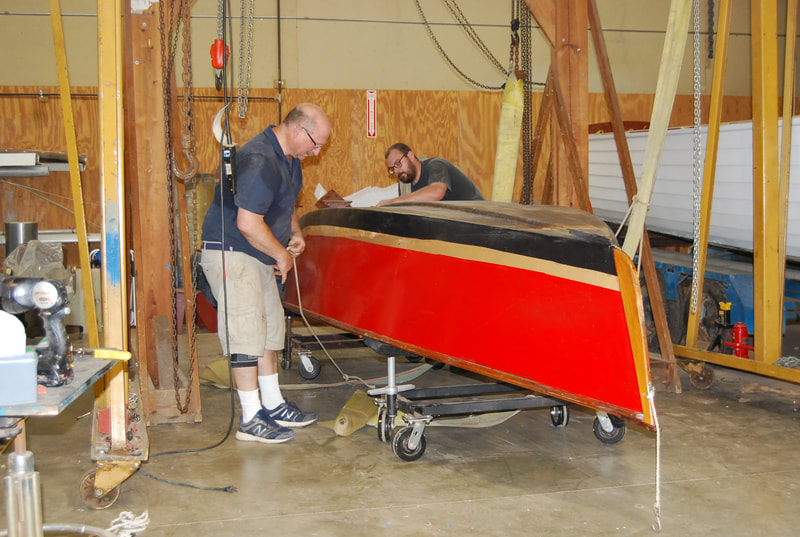
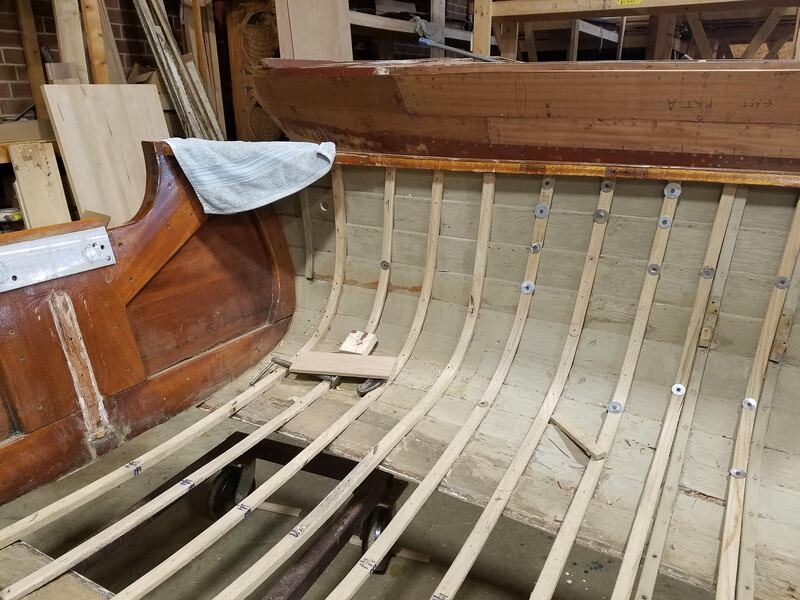
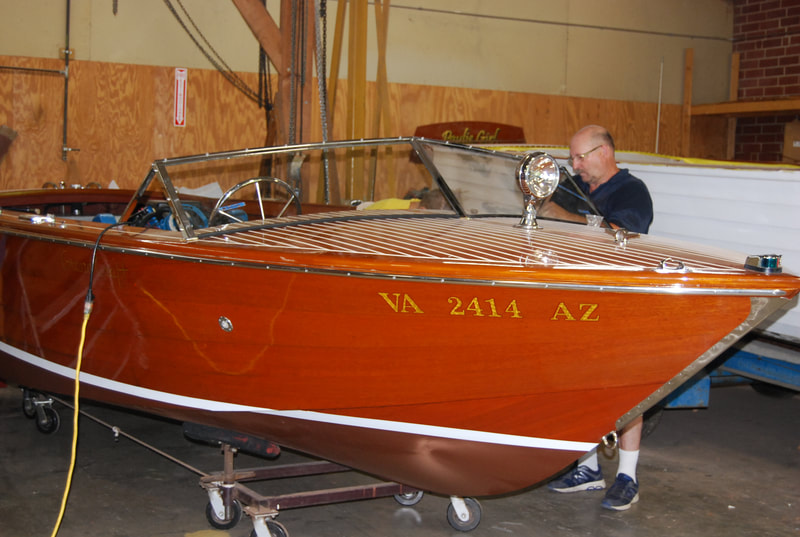
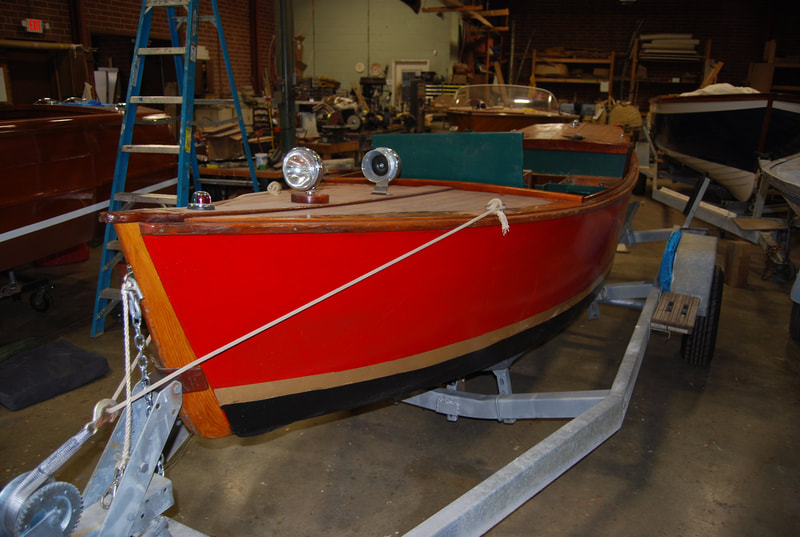
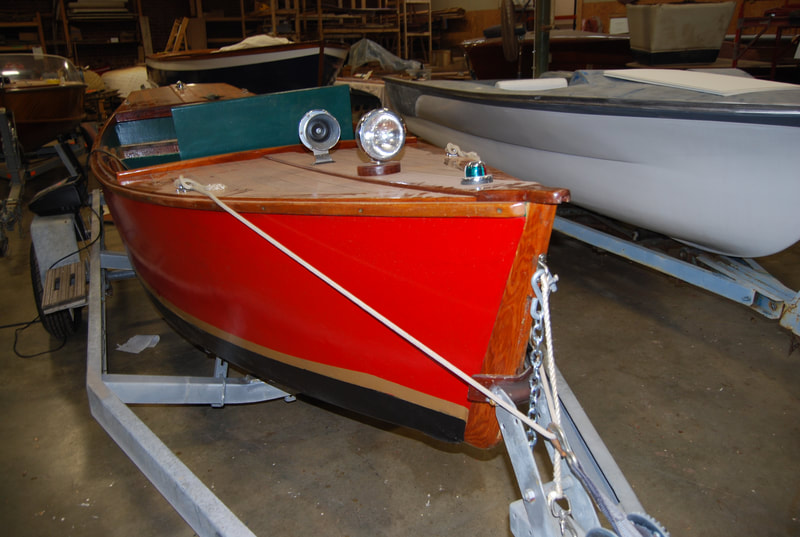
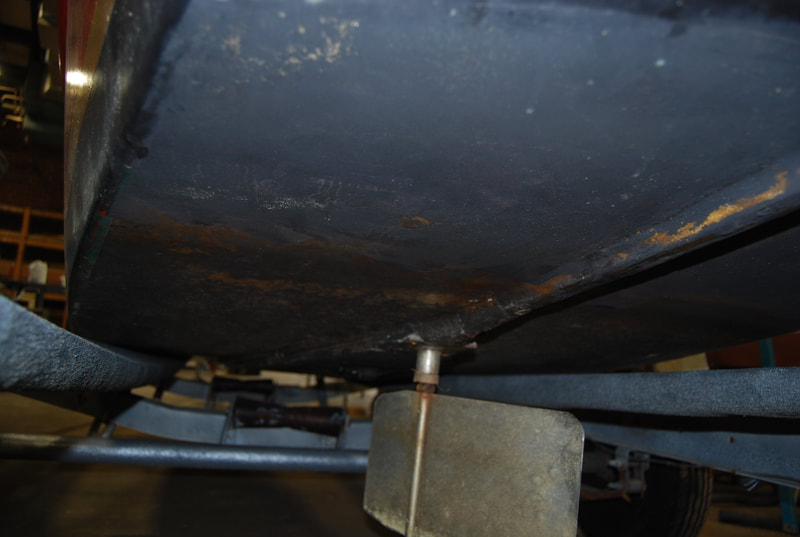
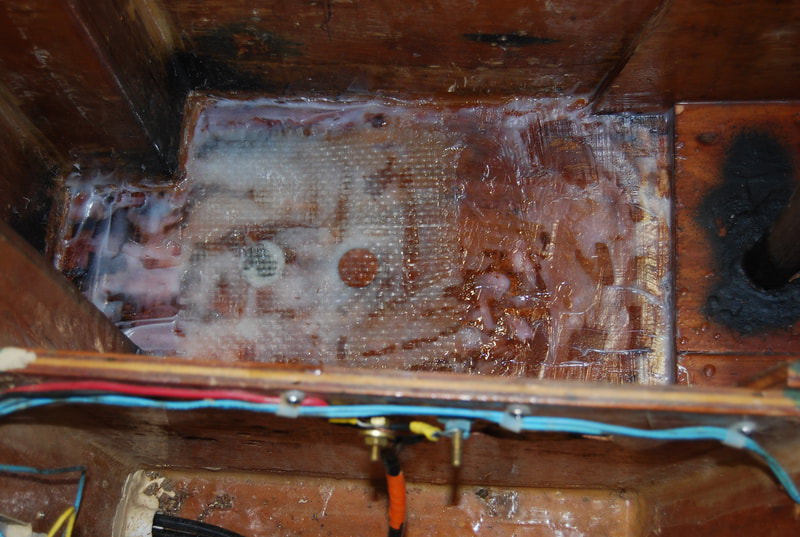
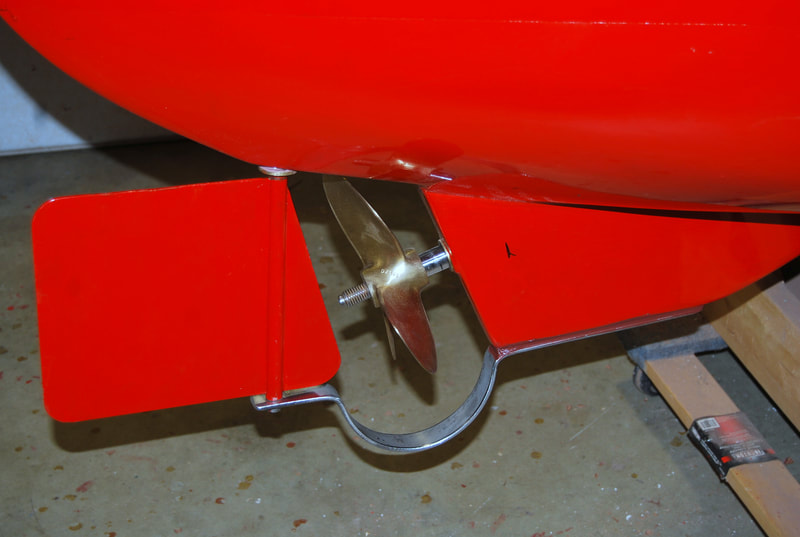
We got the Ski Boat back from Smith Mountain Lake with its brand new canvas. Just a few more finishing touches and we can send her home! Nicolas and the team finished installing all fresh ribs in the Lyman! I finished varnishing a good chunk of the interior pieces for the 18' Sea Skiff and dry fit all the ceiling boards. I also dry-fit and installed the side seats. Nicolas has been working on new toe rails and other small, necessary pieces for the Celebrity. The Lily Electric got flipped! Jack has also been working on adding fiberglass to a portion of the bottom that was missing it and filling in the area surrounding the new through-hull.
0 Comments
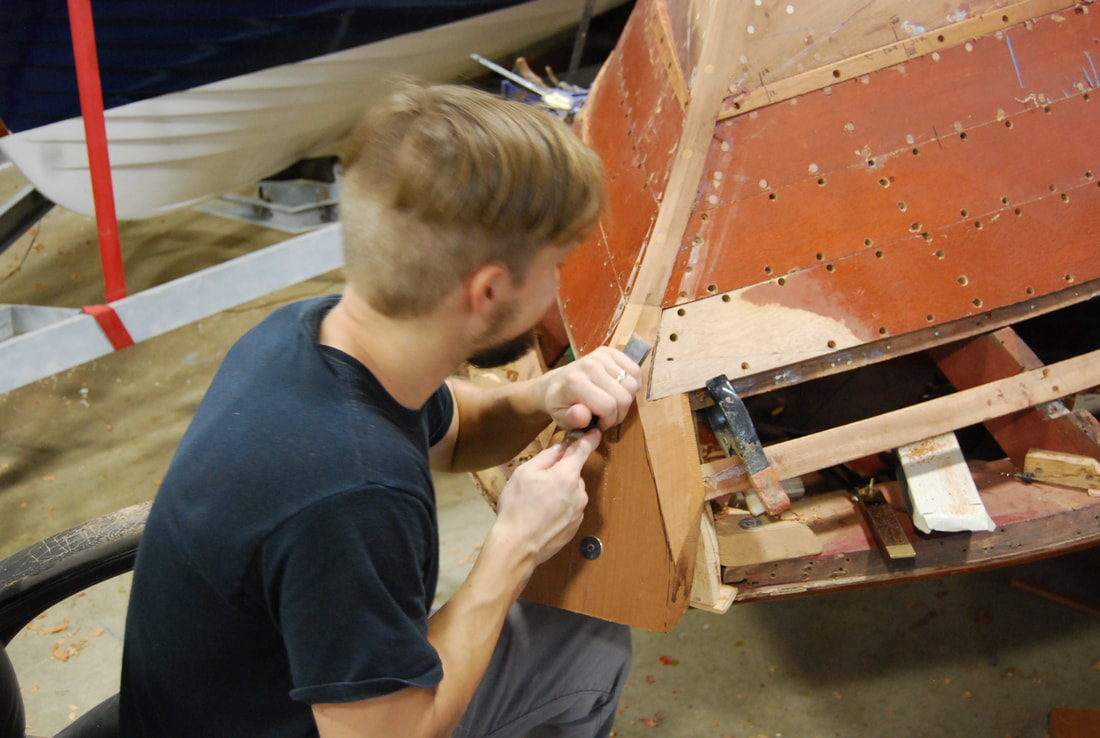
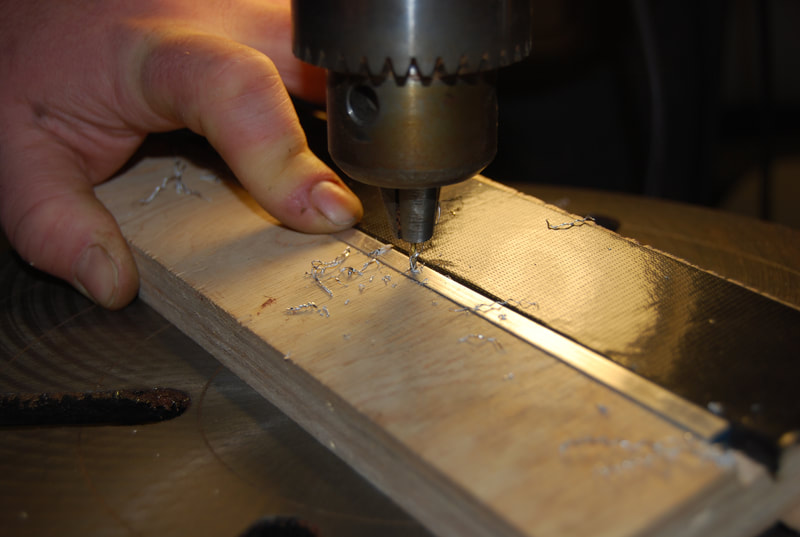
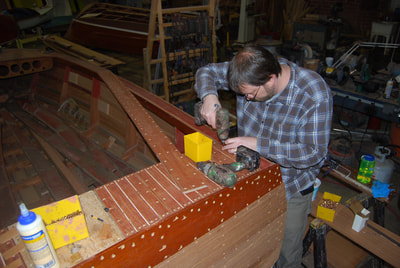
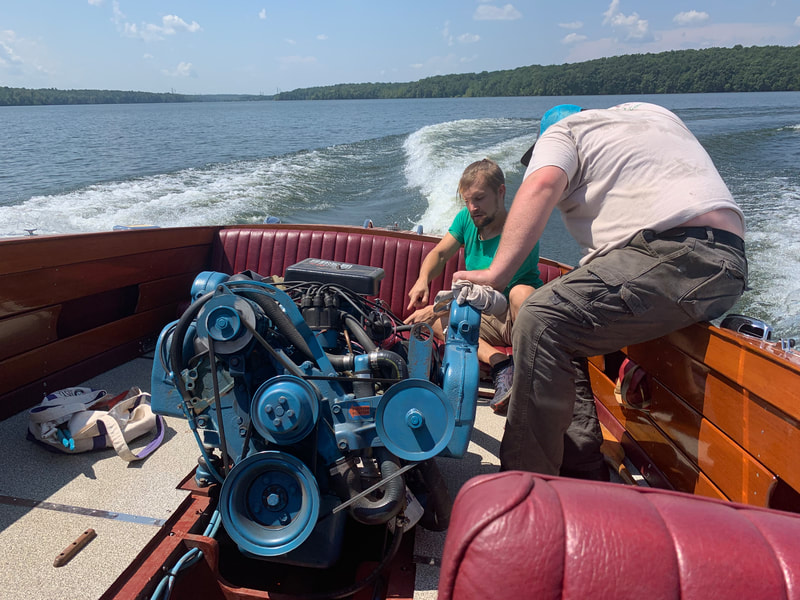
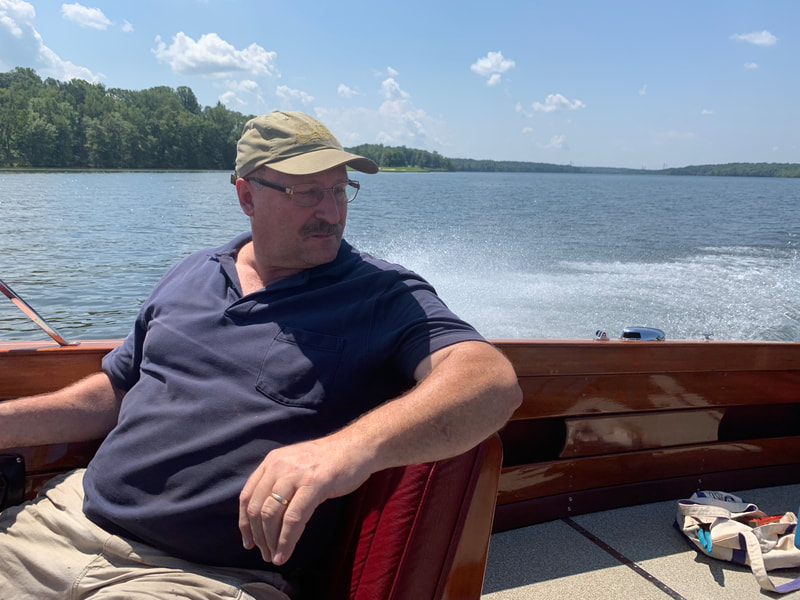
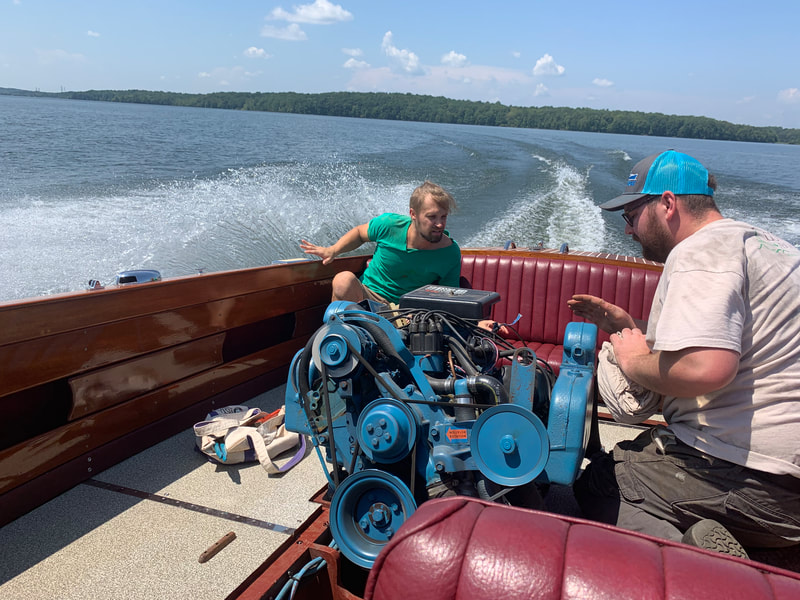
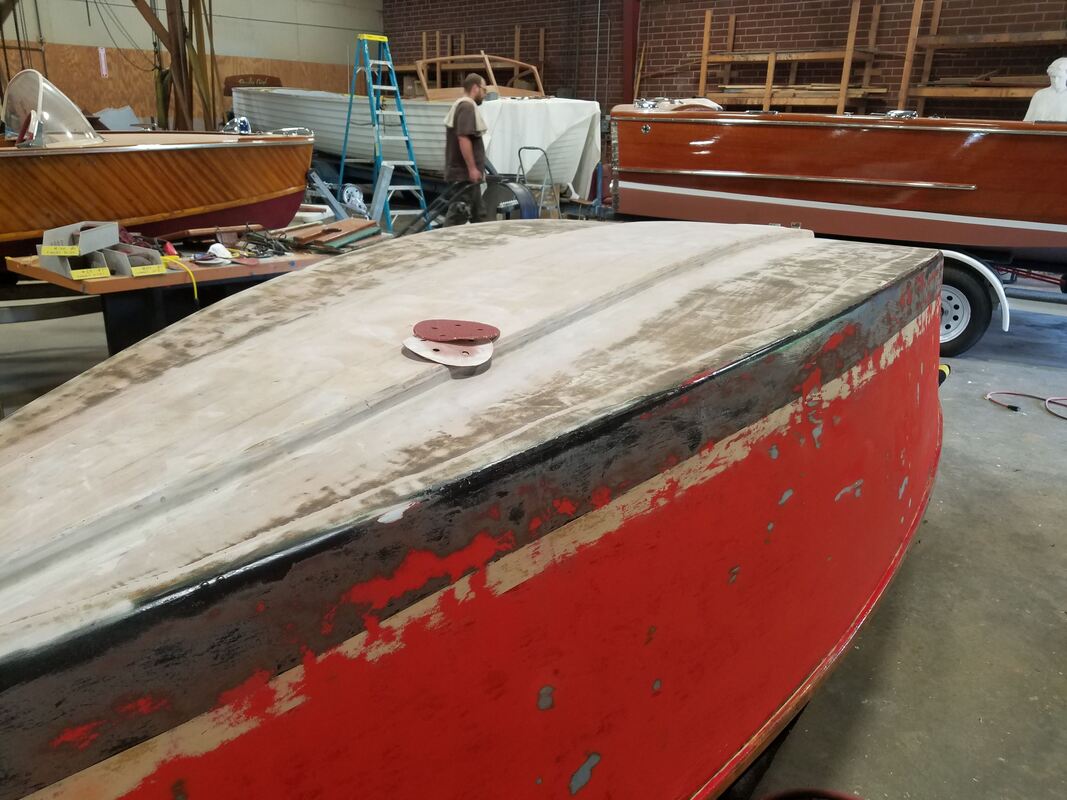
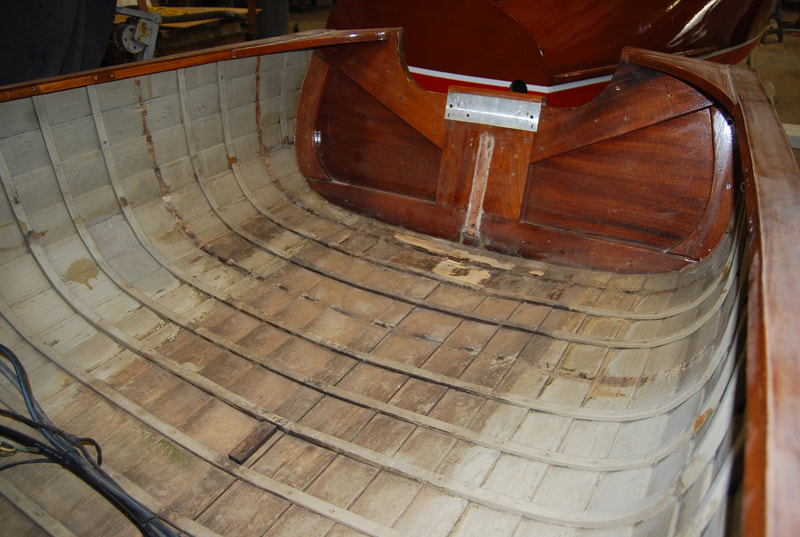
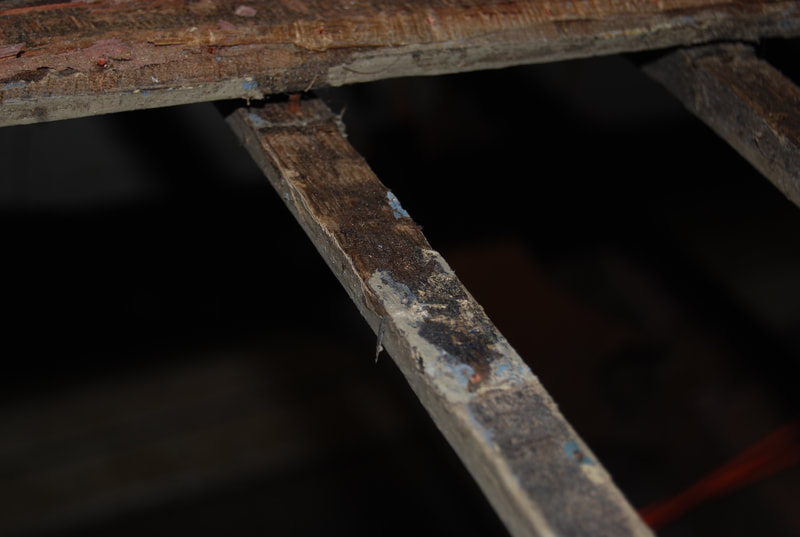
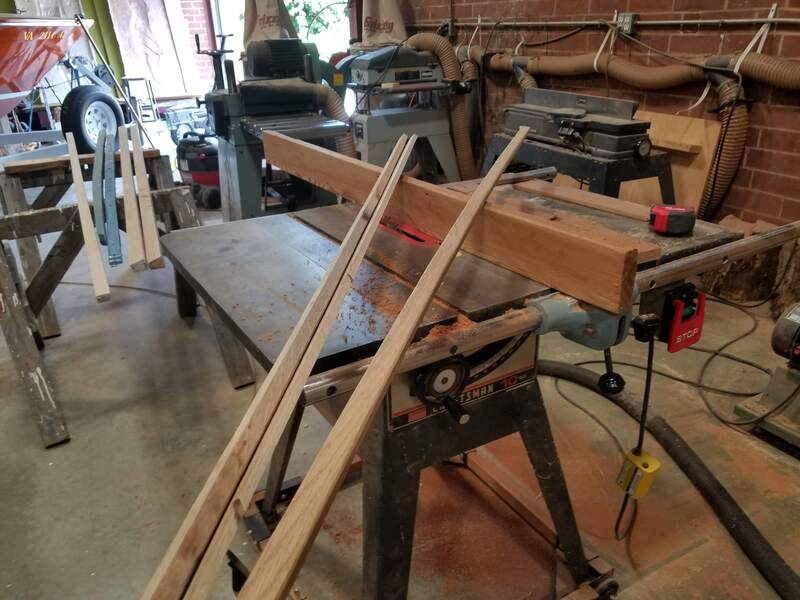
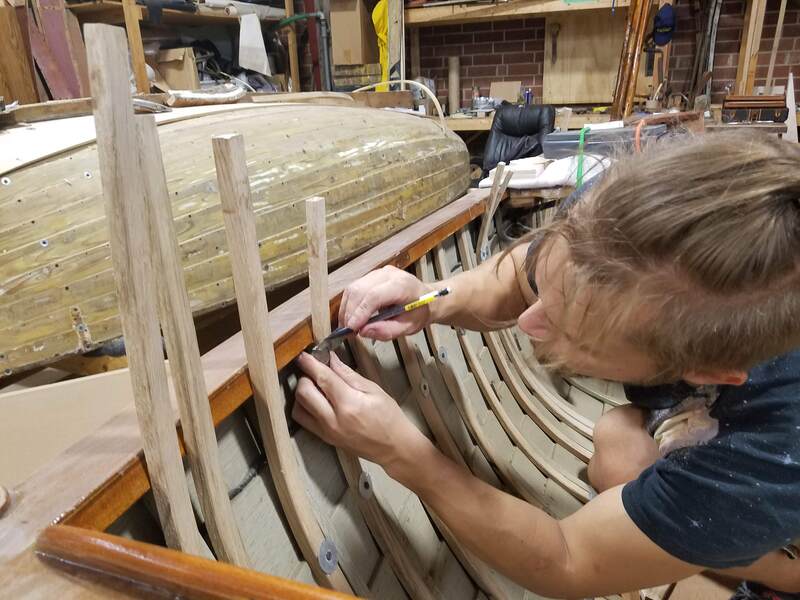
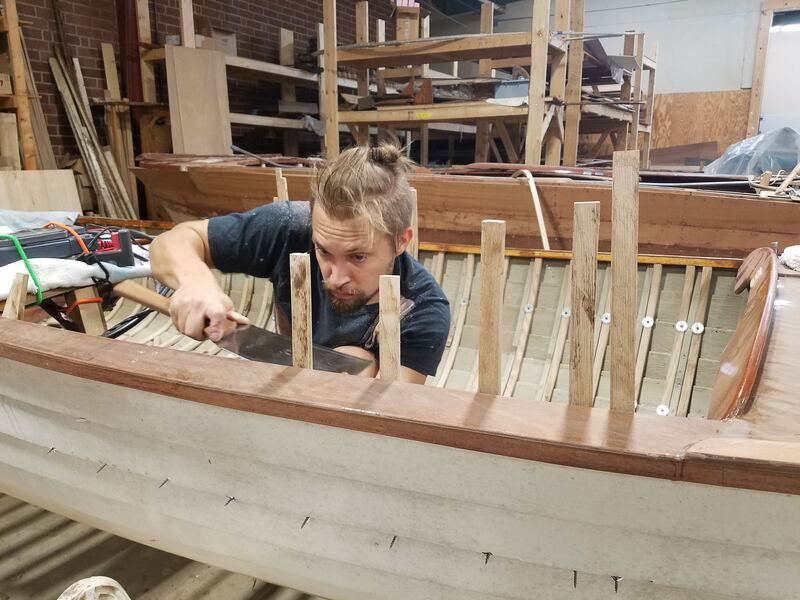
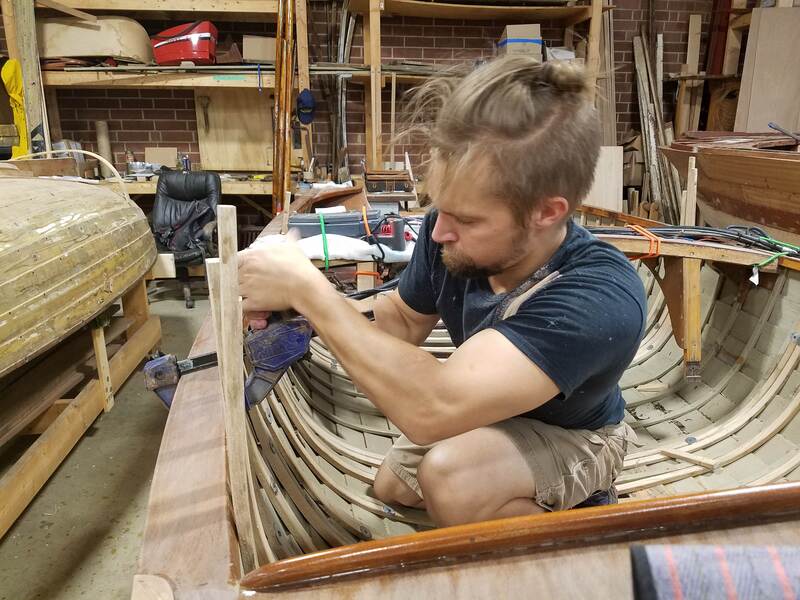
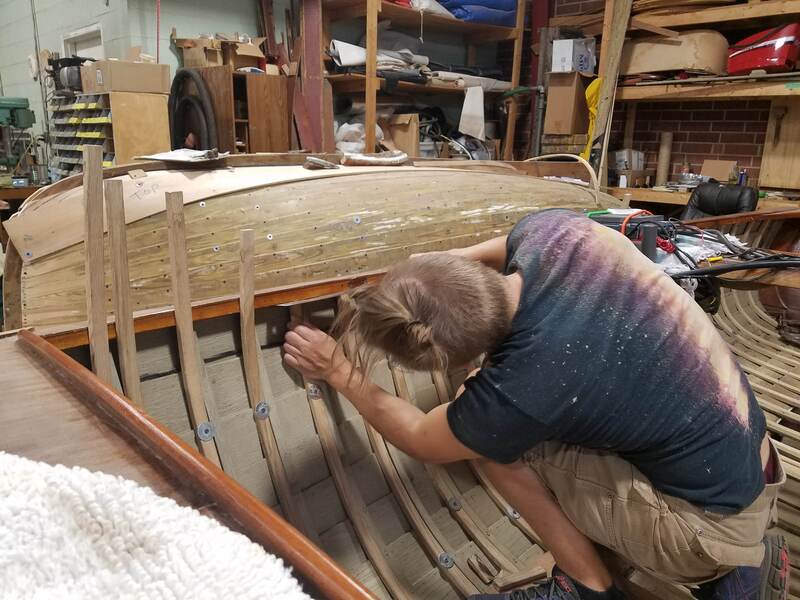
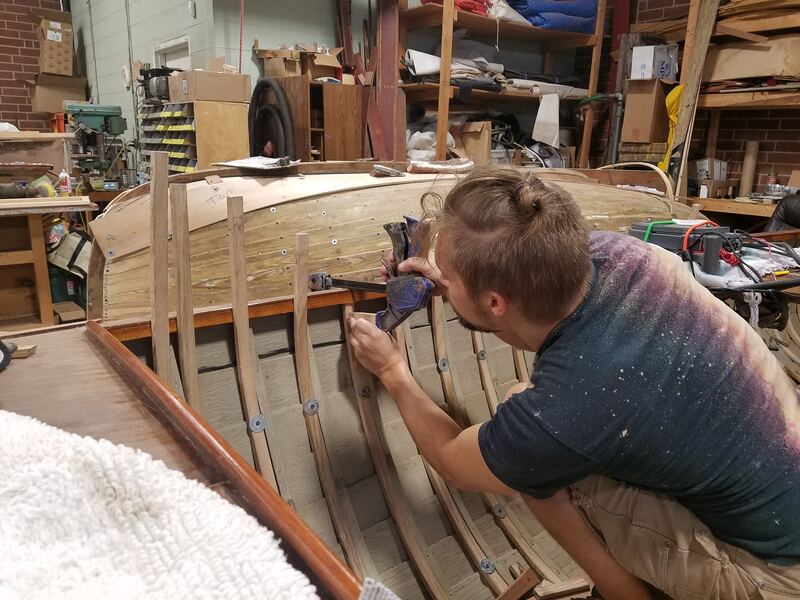
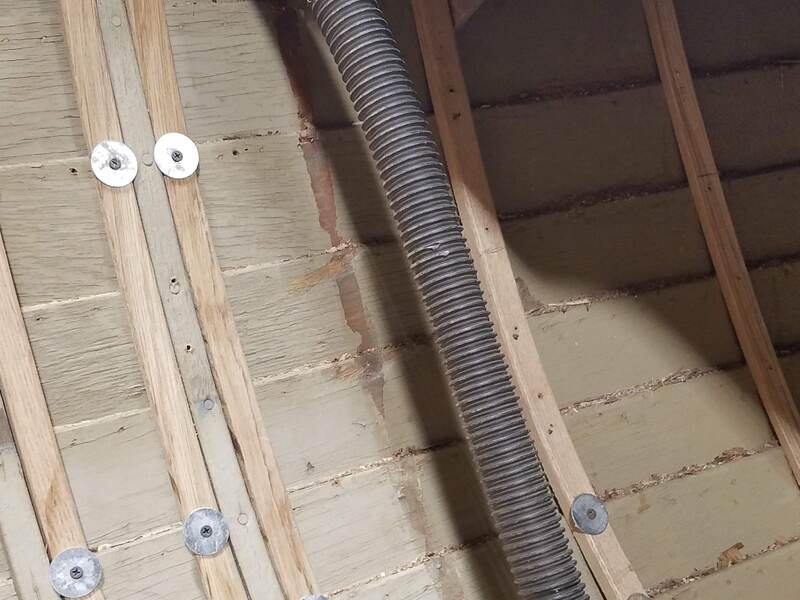
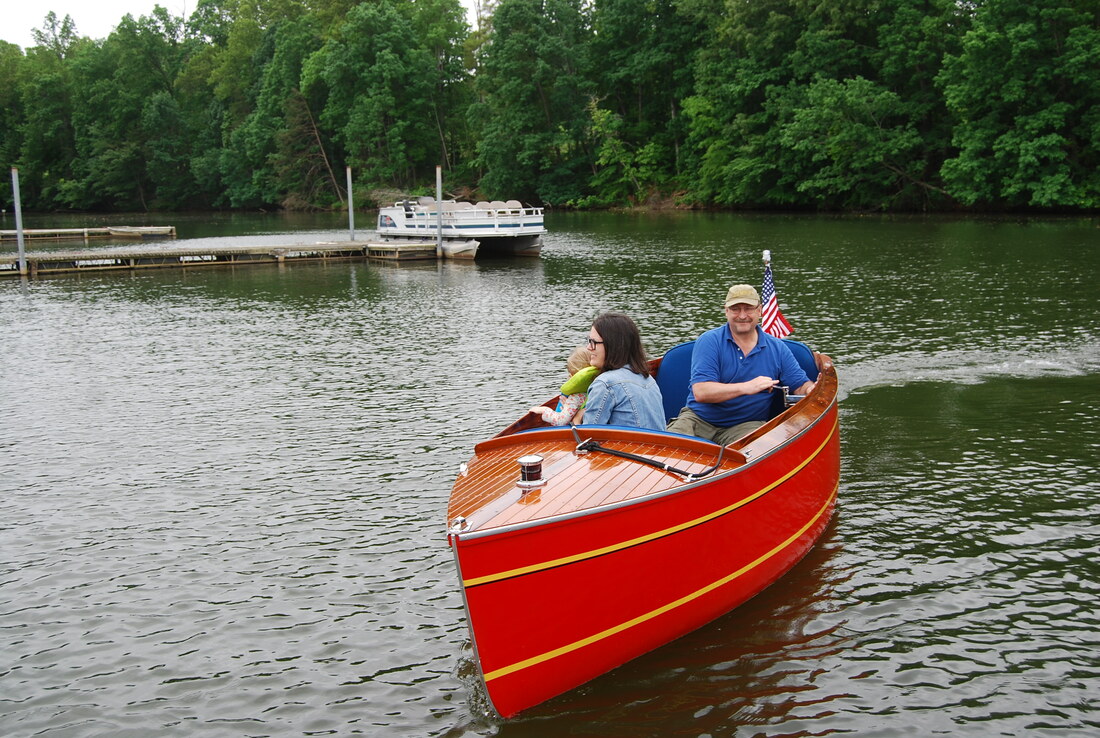
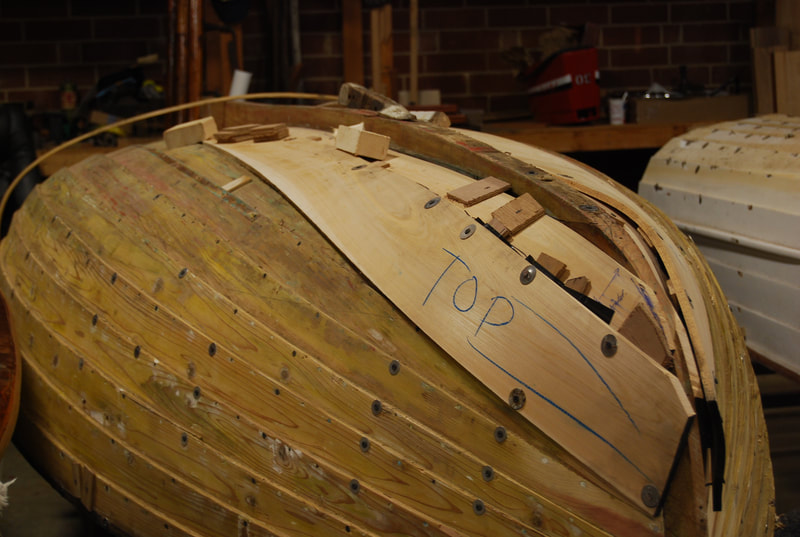
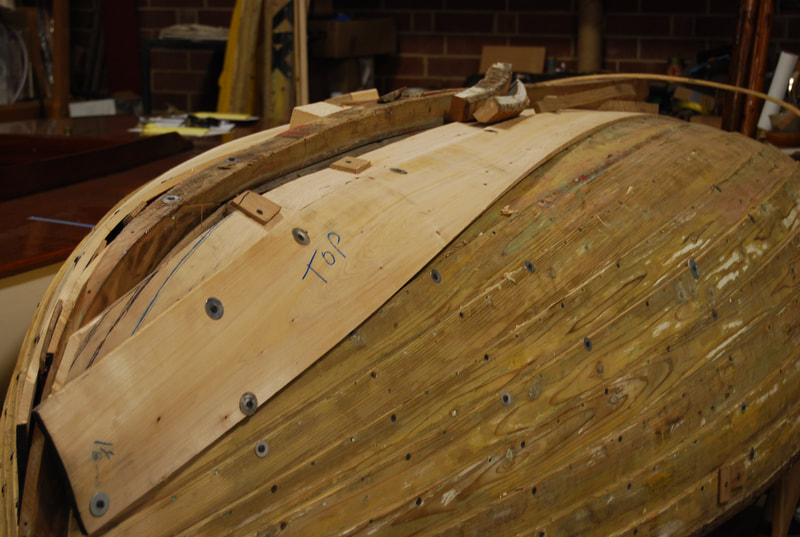
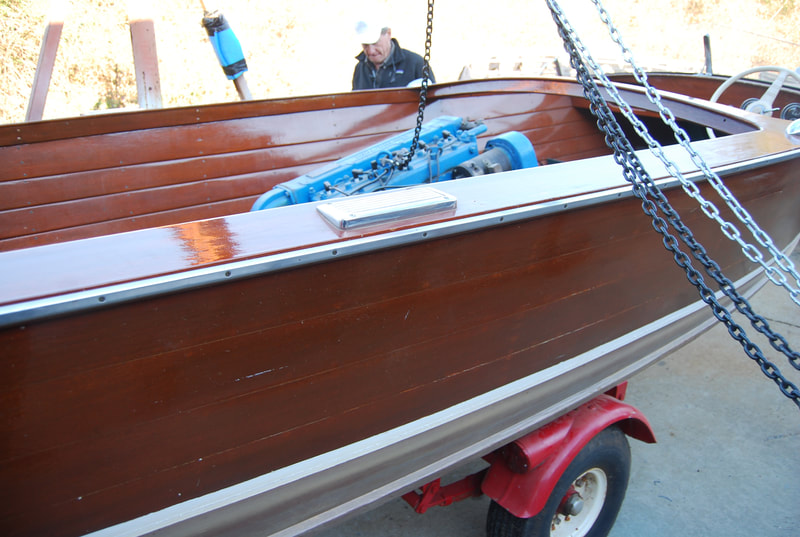
A busy week in spite of 95 degree weather and daily evening rains! We had a great time testing the Grand Craft, it was my first time in a wooden boat and I couldn't believe how different the experience was. It flew over the water like nothing I've ever been in, I was genuinely afraid at time we might lift off into the sky, but apparently that's what the boat is built to do! I see now why all you folks love your wooden boats! It performed beautifully and just needs some tweaks and adjustments. Here are some photos demonstrating why sea trials are important for our work. There are a lot of details about engine alignment and general construction that can only be determined during a trial on the water. Jack has gotten to work on the Lily, putting another layer of fiberglass and epoxy in the bilge and installing the prop shaft through hull. We also rolled her yesterday so Jack could start sanding the bottom. The team worked together to steam bend and dry-fit ribs for the Lyman, which Nicholas has been working to finalize. See my previous post for a detailed step by step! We've had to replace every single rib on the Lyman due to rot, so this is a good opportunity to learn just what it takes to get fresh ribs on a boat. Step One: Determine rot There is almost always rot in a wooden boat, the question is just how much. At first glace, you can see that we hoped only a few ribs were rotten, but after we flipped the boat to remove the rotten bottom planks, we discovered that every rib was rotten on the underside, which of course was not visible from the top, nor noticeable by poking with a screwdriver (our go-to rot detection method). Step Two: Mill lumbar We take the exact measurements of the old ribs and recreate them with fresh wood. Step Three: Hand shaping Nicolas shaped each rib to perfect shape and smoothness before it was ready to go into the steamer. Step Four: Steam bending This is a long process that we do over and over again until every new rib is in its place as close to the original rib as possible. It requires three people: One to remove the rib from the steamer and carry it over (very quickly before it hardens), one to place, drill, and screw the rib in place, and one to hold blocks in place on the outside of the boat to prevent damage to the hull. It's very time-consuming and exact. Step Five: Cutting ribs to size Measure, cut, clamp into place under lip, saw excess, clamp into position fully under lip, and repeat. Step Six: Remove originals and move new ribs into their final position. This step requires removing the rotten board, scraping the old paint beneath it, vacuuming, unscrewing the new rib, placing it in the old location, and screwing it down. At that point, we have to check to ensure it's the correct depth at the base of the hull, and if not, we have to unscrew it, measure it, saw it to length, and replace it again. Then, eventually each rib is screwed in place.
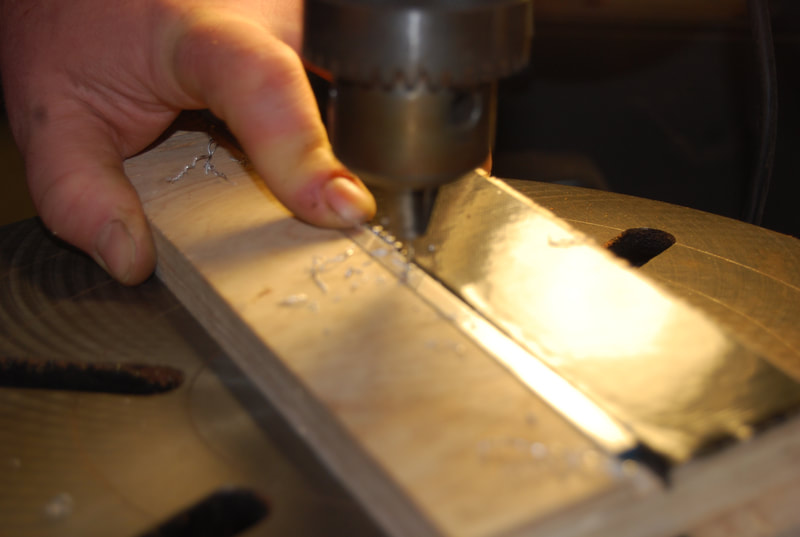
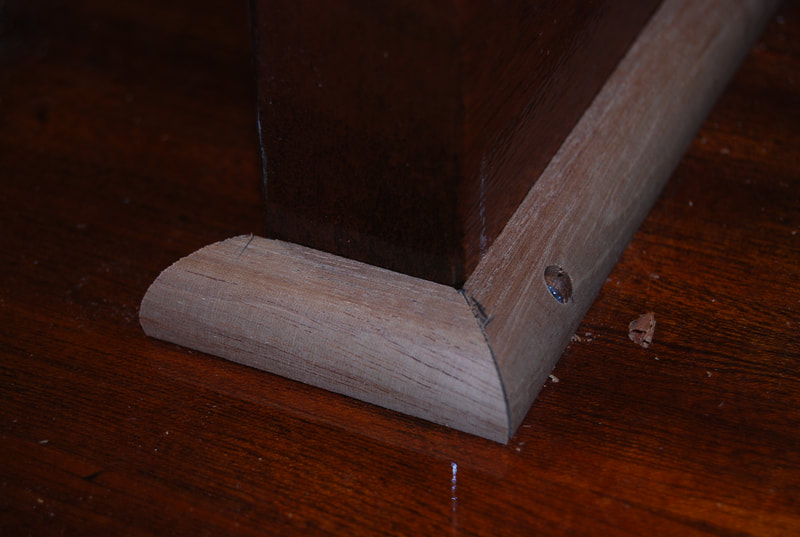
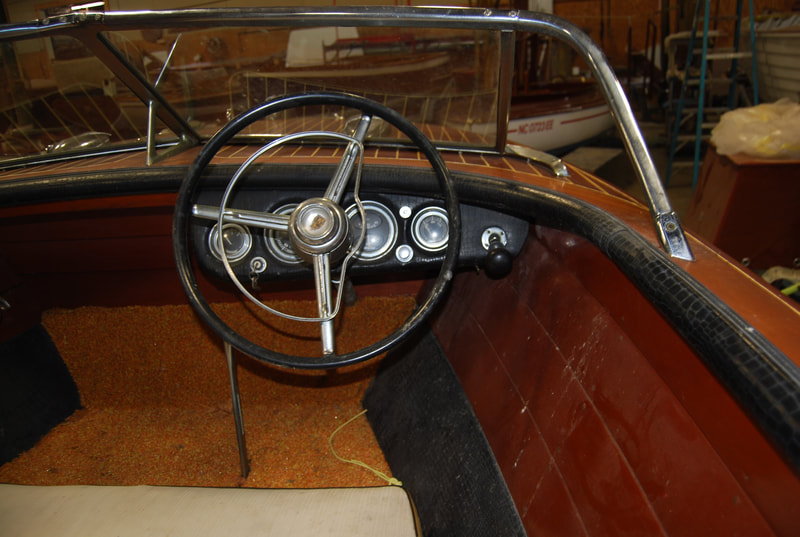
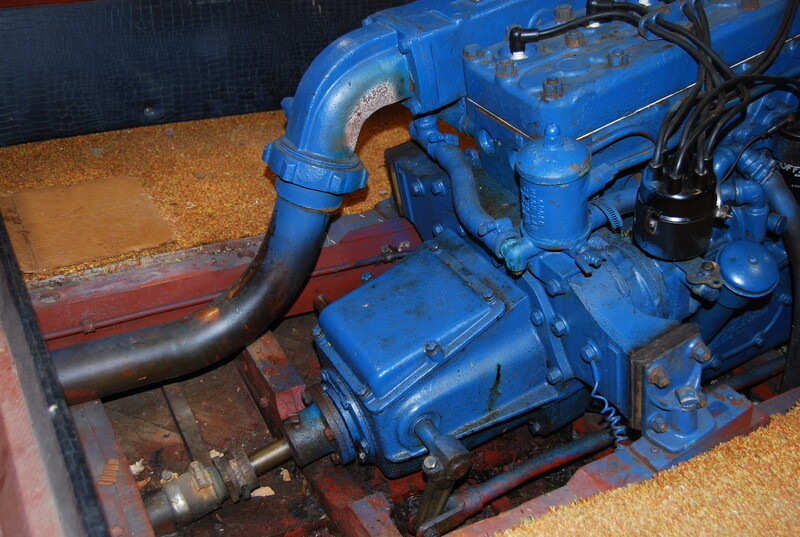
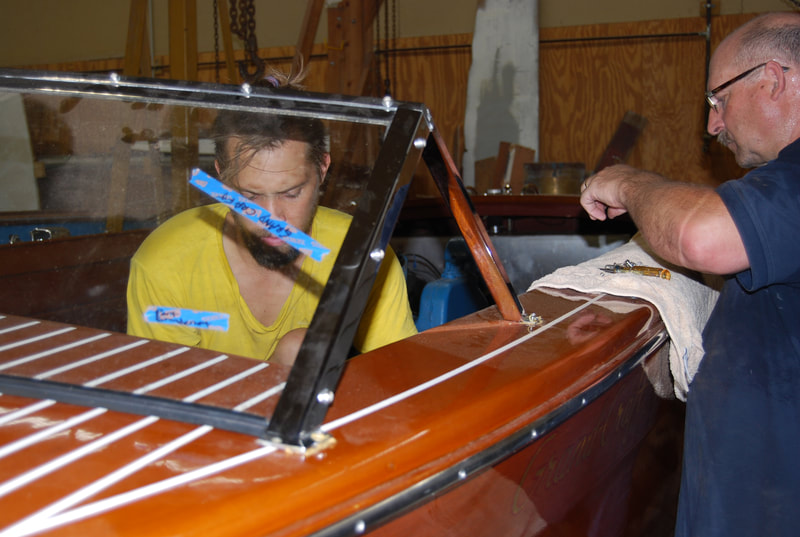
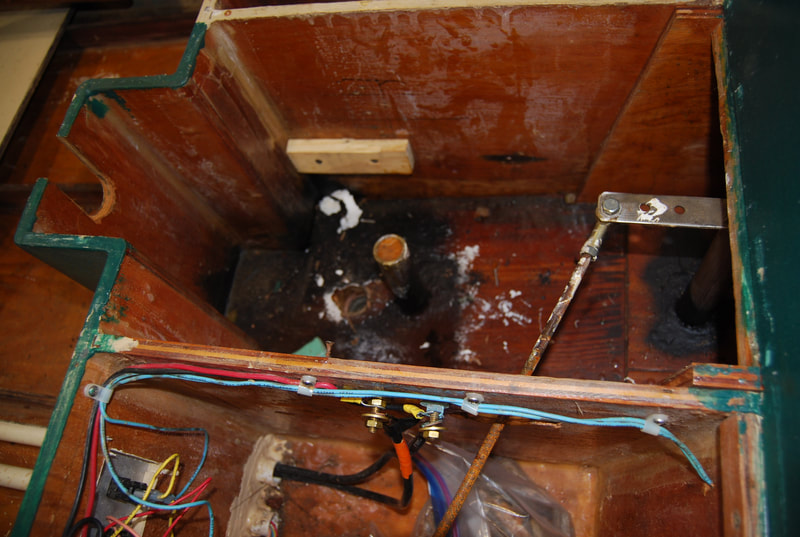
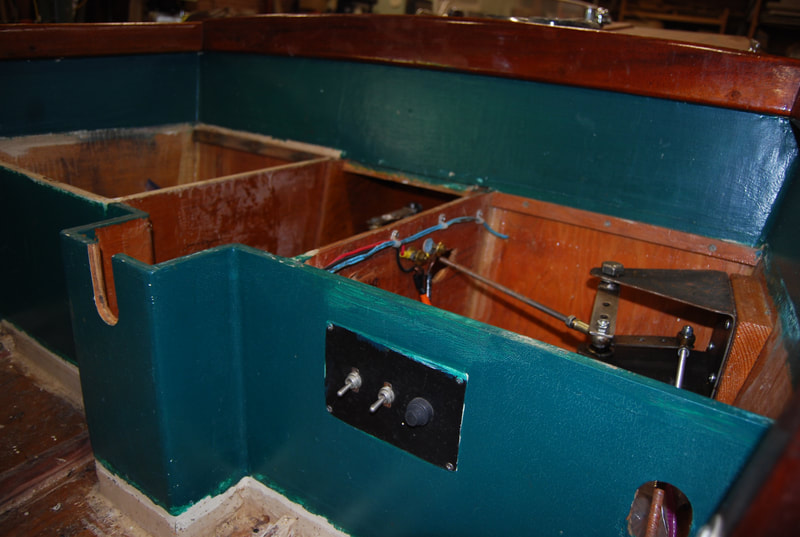
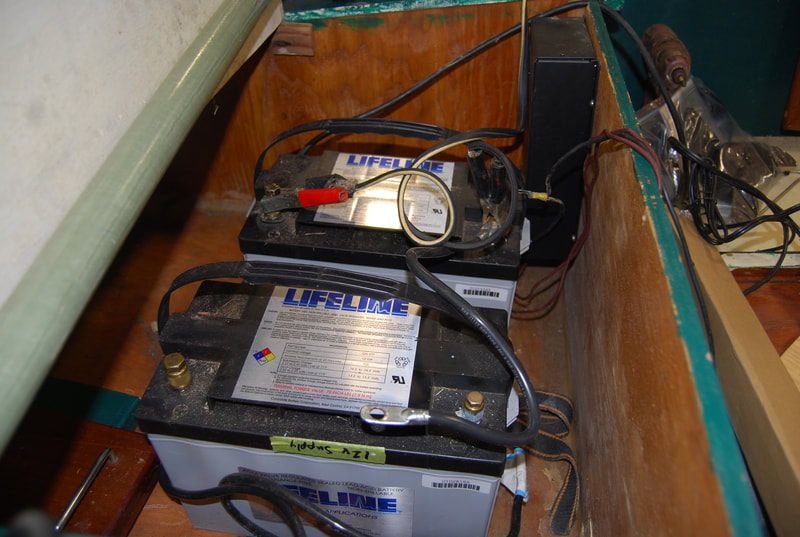
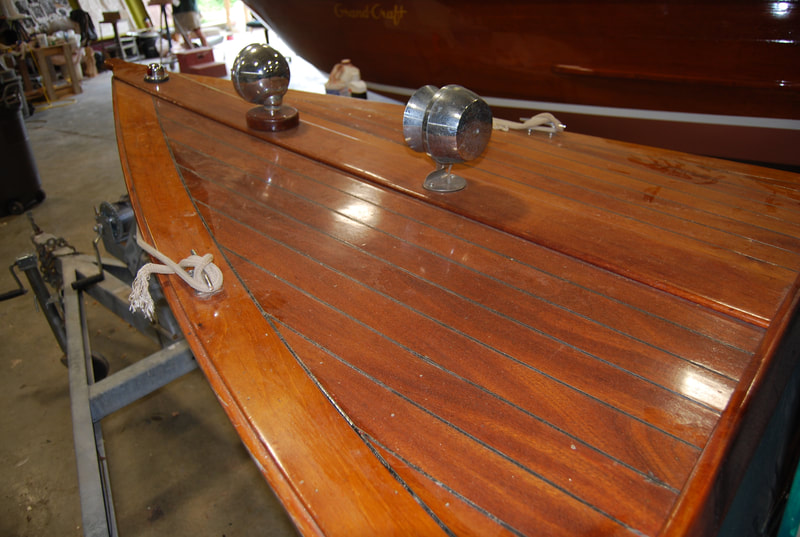
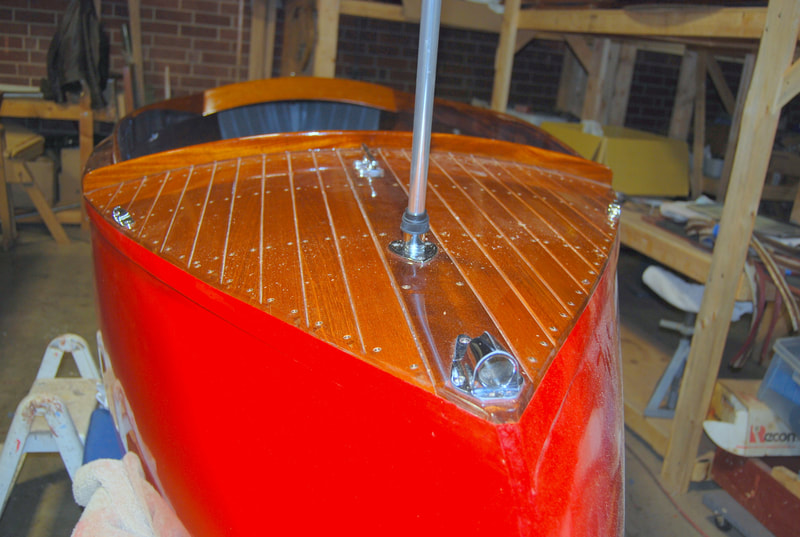
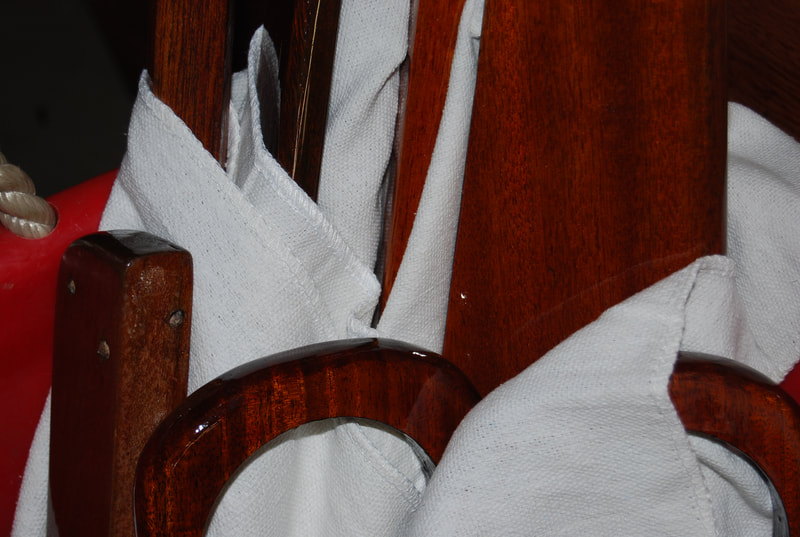
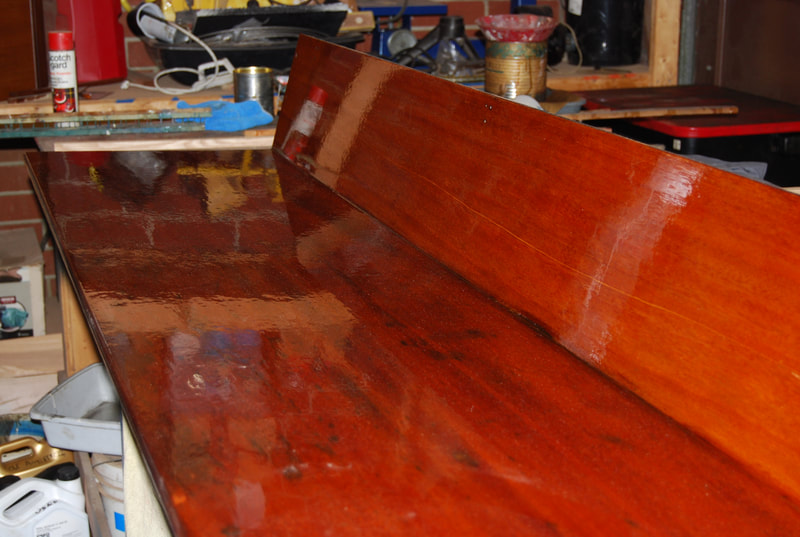
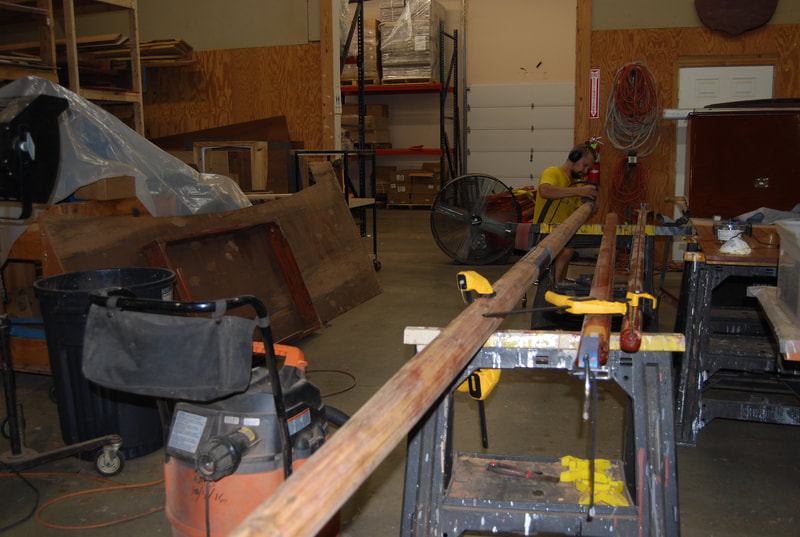
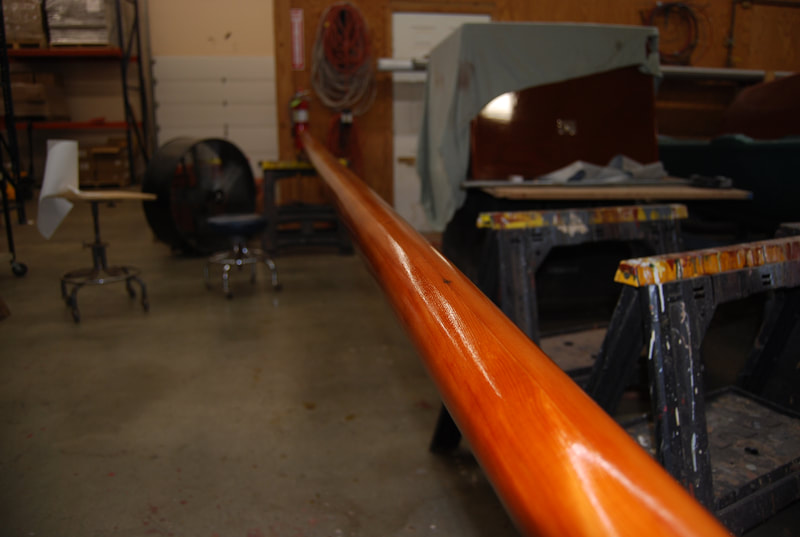
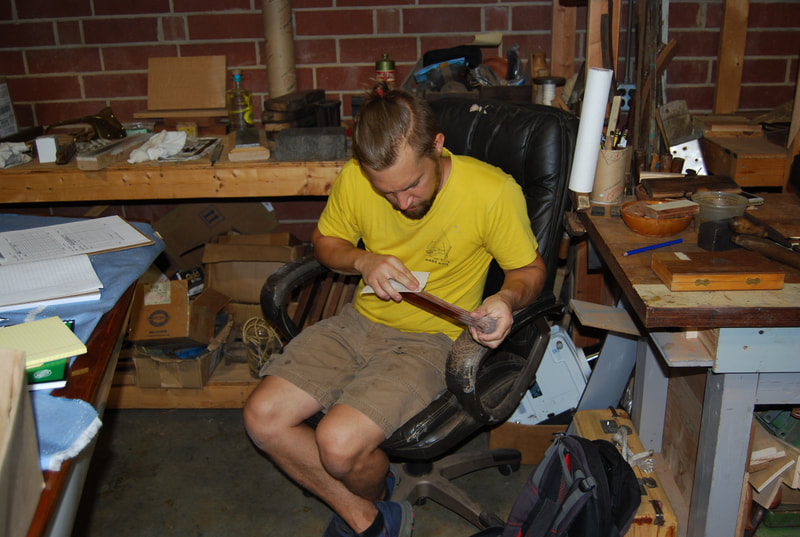
After we have replaced all the rotten planks along the hull, the ribs get riveted to the planks and the interior is finally ready for painting. I am learning a lot at the boat shop and am continually surprised by just how much work and time goes into everything we do. I hope this has been educational for you as well! Thanks to Nicolas for the explanation and breakdown. A successful week in the shop! Gary and Jack tested the engine of the Grand Craft, and it ran great! As it often happens with old boats, success in one area leads us to find another worn out and in need of fixing. Jack noticed the exhaust hose was damaged and needed replacing so he uninstalled the fuel tank, removed and replaced the hoses, and reinstalled the fuel tank. He also installed the battery platform he made and painted last week. For the Ski Boat, Jack installed the interior, finished dry-fitting the interior and engine box, and installed the ski pole hardware. The upholstery has been completed and Gary took it up to Smith Mountain Lake to have the cover and Bimini top made. Hopefully in a week or so we’ll be able to get her back in the shop for photos. The Lily Electric is the newest arrival in the shop and was the lucky boat at the top of our two-year wait list for new projects. Jack has already removed the rotten wood from around the through-hull for the prop shaft, removed the old prop thrusters, prepared the surface, filled the old hold, and fiber-glassed over the bilge where the prop goes. Off to a great start! The Whirlwind is nearly complete, we took it into the engine shop to have it checked out they helped us troubleshoot the engine wiring and starting. Jack and Gary are close but have a few more things to try to get it running. Nicolas has been busy with the International 12. He stripped and sanded the floorboards, sanded and repaired the seats, varnished the spars, and pre-bent and steam-bent the replacement heads. Here he is preparing the garboard. Last week, Nicolas sanded the mast of the Celebrity and gave it a few coats of varnish. Here's a cool video I didn't get a chance to share! For the 18' Sea Skiff, I've been working hard to get the final coats on the interior pieces. The main seat has gotten its final coat and is so shiny you can see yourself in it. The other pieces are nearly there. Here's a close-up of the upholstery with custom brass zippers and vibrant red vinyl. Thanks for reading! Hope you enjoyed all the videos this week. See you next time! After a long, hot summer you begin to notice cool early mornings and you remember the promise of evenings by the fire. That is how we feel about having Gary and Nicholas back in the shop with us. In other words, we're back into the full swing of things and it feels great! For the Celebrity, Nicolas has stripped, sanded, and varnished the main mast and removed the hardware from the boom. He’s also sanded and varnished the floor boards and installed the bulk head trims and varnished the interior doors. He’s currently selecting and milling wood for the toe rails and quarter rounds, to be made next week. I’ve also seen him sanding and adding more varnish to the rudder. For the International 12, Nicolas has been preparing the spares for varnish, which is a fairly arduous and detailed task involving epoxy in the opening along the glue joint on the mast and does not photograph well ;) For the Lyman, Nicolas, Gary, and I have been milling oak for frames from large pieces of timber. For the Grand Craft, Jack prepped, taped, and caulked the remaining lines on the deck. He also prepped and varnished the sides, installed the deck hardware, spray rails, rub rails, and cutwater. He also installed the fuel tank, hooked up the engine hoses and cables/wires, and made a battery stand. Today Gary and Jack successfully ran the engine and it roared! (Video next week) For the Ski Boat, we have received all the upholstery and begun final installation. Jack also modified the floor boards to fit and level, fabricated aluminum hidden tips for the engine box, and installed aft vertical trim. We are ready for sea trial and will update with photos soon.
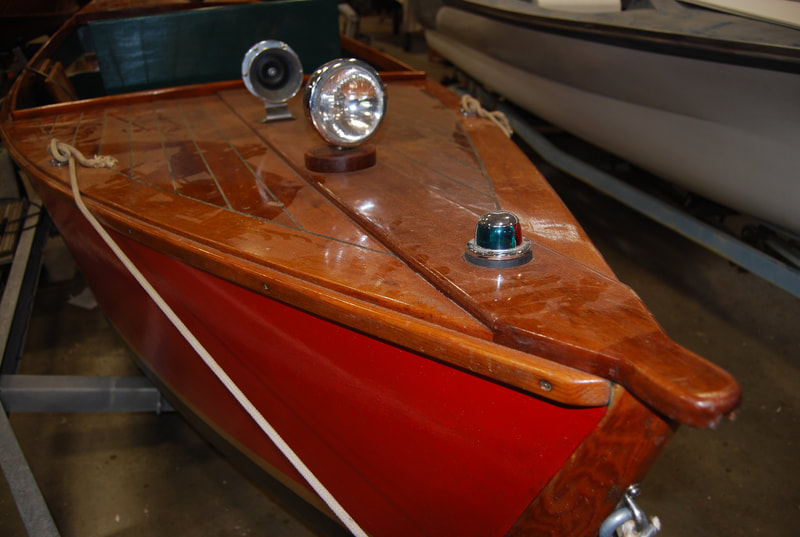
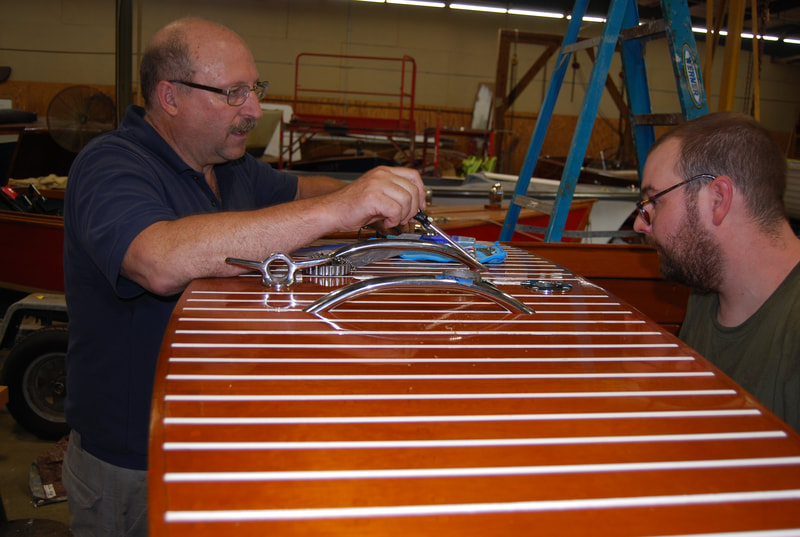
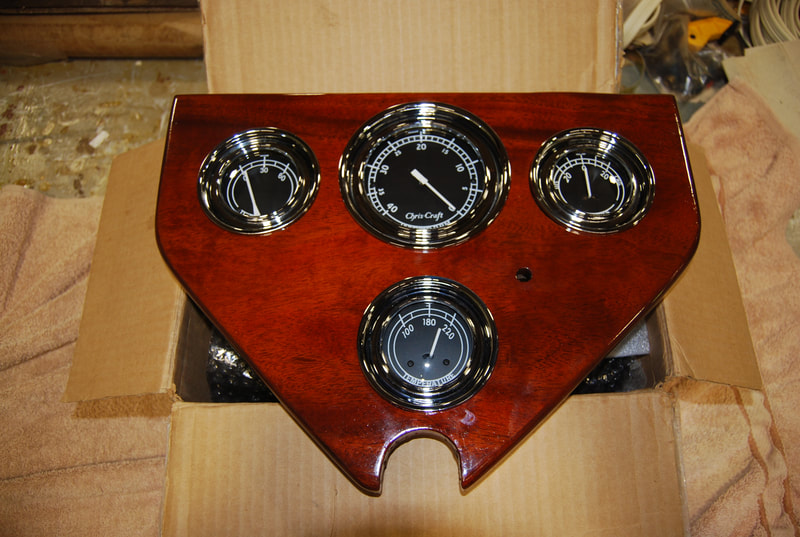
For the 18’ Sea Skiff, I installed all the long ceiling boards into their original place and secured them with brass fasteners. I also made new seat inserts for the side sides and painted those. We put the final coat of varnish on the gage box and placed the amazingly restored original gauges. This morning we also received the upholstery, which is cherry red with brass accents and will looks gorgeous in that boat. |
Welcome!Check back weekly for updates about our current projects and shop happenings! Archives
May 2024
Categories |
- Home
- Shop Blog
-
Projects
- 1965 21ft Super Sport
- 1947 17ft Deluxe Runabout
- 1958 15ft Dixie
- 1954 16ft Correct Craft Jr.
- 1947 18ft Chris Craft Utility
- 1995 15ft Budsin Electric
- 1957 18ft Chris Craft Continental
- 1954 18ft Lyman Islander
- 1958 18ft Chris Craft Continental
- 1958 19ft Chris Craft Riviera
- 1948 17' Deluxe Runabout
- 1956 18ft Chris Craft Continental
- 1957 22ft Shepherd Runabout
-
Completed
>
-
Inboards
>
- 1935 15ft ElectriCraft
- 1934 15ft ElectriCraft "Duke Blue"
- 1967 19ft Lyman Runabout
- 1935 15ft Electricraft
- 1955 18' Chris Craft Continental
- 1962 18ft Chris Craft Holiday
- 1957 26ft Chris Craft Sea Skiff
- 1956 17' Sportsman
- 1933 18' Electricraft Double Ender
- 1957 18ft Sea Skiff
- 2000 15' Budsin Lightning Bug
- K Engine
- 1982 15' Pelican Electric
- 1959 17ft Chris Craft Ski Boat
- 1987 20ft Grand Craft
- 1963 18ft Century Sabre
- 1933 Electric Double-ender "Sea Saw"
- 1940 19ft Chris Craft Custom Runabout "Barrelback"
- 1942 16ft Chris Craft Special Runabout
- 1948 20ft Chris Craft Custom
- 1934 Electri-Craft
- 1946 18ft Garwood
- 1959 17ft Chris Craft Special Sportsman
- 1982 24ft Grand Craft Triple Cockpit
- 1982 15ft Budsin Lightning Bug
- 1958 21ft Century Coronado
- 1963 18ft Chris Craft Cavalier
- 1951 22ft Chris Craft Utility
- 1956 19ft Chris Craft Capri
- 1995 30ft Hacker Craft triple cockpit
- 1934 15ft Electricraft
- 1932 15ft Electricraft
- 1980 15ft Cold Molded Electric Launch
- 1954 20ft Chris Craft Special Sportsman
- 1952 20ft Greavette
- 2008 15ft Budsin Lightningbug
- 2003 22ft Pulsifer Hampton
- 1955 17ft Chris Craft Sportsman
- 1951 18ft Chris Craft Riviera
- 1960 18ft Chris Craft Cavalier
- 2001 26ft Skiffcraft
- 32ft 1973 Trojan
- 1959 17ft Chris Craft Sportsman
- 1956 23ft Chris Craft Continental
- 1935 Electri-Craft
- 1996 30ft Hacker Craft Triple Cockpit
- 1964 18ft Lyman I/O
- 1956 26ft Chris Craft Sea Skiff
- Lily Electric
- KLC Engine for 1956 17' Sportsman
- 1934 Electri-craft "Bottoms Up"
- Other Inboards
-
Outboards
>
- 1955 14ft Whirlwind
- 1960 16-1/2ft Penn Yan Niagara
- 17ft Carolina Skiff
- 1998 17ft BayCraft Outboard
- Bristol Outboard Runabout
- 1955 15ft Lyman Outboard
- 1959 14ft Whirlwind
- 1957 13ft Lyman
- 14ft Penn Yan Captivator
- 1959 16ft Barbour Silver Clipper
- 1960 17ft Cruisers Inc Outboard
- 1955 14ft Penn Yan Commander
- 1964 17ft Grady White Pamlico
- 1959 18ft Shoup Princess
- Other Outboards
- Sailboats >
- Non-powered boats >
- Special Projects
-
Inboards
>
- Marine Surveys
- Boat Trailers
- Boats For Sale
- Merchandise
- Contact
- Links
- Meet the crew
Lowell Boats
- Home
- Shop Blog
-
Projects
- 1965 21ft Super Sport
- 1947 17ft Deluxe Runabout
- 1958 15ft Dixie
- 1954 16ft Correct Craft Jr.
- 1947 18ft Chris Craft Utility
- 1995 15ft Budsin Electric
- 1957 18ft Chris Craft Continental
- 1954 18ft Lyman Islander
- 1958 18ft Chris Craft Continental
- 1958 19ft Chris Craft Riviera
- 1948 17' Deluxe Runabout
- 1956 18ft Chris Craft Continental
- 1957 22ft Shepherd Runabout
-
Completed
>
-
Inboards
>
- 1935 15ft ElectriCraft
- 1934 15ft ElectriCraft "Duke Blue"
- 1967 19ft Lyman Runabout
- 1935 15ft Electricraft
- 1955 18' Chris Craft Continental
- 1962 18ft Chris Craft Holiday
- 1957 26ft Chris Craft Sea Skiff
- 1956 17' Sportsman
- 1933 18' Electricraft Double Ender
- 1957 18ft Sea Skiff
- 2000 15' Budsin Lightning Bug
- K Engine
- 1982 15' Pelican Electric
- 1959 17ft Chris Craft Ski Boat
- 1987 20ft Grand Craft
- 1963 18ft Century Sabre
- 1933 Electric Double-ender "Sea Saw"
- 1940 19ft Chris Craft Custom Runabout "Barrelback"
- 1942 16ft Chris Craft Special Runabout
- 1948 20ft Chris Craft Custom
- 1934 Electri-Craft
- 1946 18ft Garwood
- 1959 17ft Chris Craft Special Sportsman
- 1982 24ft Grand Craft Triple Cockpit
- 1982 15ft Budsin Lightning Bug
- 1958 21ft Century Coronado
- 1963 18ft Chris Craft Cavalier
- 1951 22ft Chris Craft Utility
- 1956 19ft Chris Craft Capri
- 1995 30ft Hacker Craft triple cockpit
- 1934 15ft Electricraft
- 1932 15ft Electricraft
- 1980 15ft Cold Molded Electric Launch
- 1954 20ft Chris Craft Special Sportsman
- 1952 20ft Greavette
- 2008 15ft Budsin Lightningbug
- 2003 22ft Pulsifer Hampton
- 1955 17ft Chris Craft Sportsman
- 1951 18ft Chris Craft Riviera
- 1960 18ft Chris Craft Cavalier
- 2001 26ft Skiffcraft
- 32ft 1973 Trojan
- 1959 17ft Chris Craft Sportsman
- 1956 23ft Chris Craft Continental
- 1935 Electri-Craft
- 1996 30ft Hacker Craft Triple Cockpit
- 1964 18ft Lyman I/O
- 1956 26ft Chris Craft Sea Skiff
- Lily Electric
- KLC Engine for 1956 17' Sportsman
- 1934 Electri-craft "Bottoms Up"
- Other Inboards
-
Outboards
>
- 1955 14ft Whirlwind
- 1960 16-1/2ft Penn Yan Niagara
- 17ft Carolina Skiff
- 1998 17ft BayCraft Outboard
- Bristol Outboard Runabout
- 1955 15ft Lyman Outboard
- 1959 14ft Whirlwind
- 1957 13ft Lyman
- 14ft Penn Yan Captivator
- 1959 16ft Barbour Silver Clipper
- 1960 17ft Cruisers Inc Outboard
- 1955 14ft Penn Yan Commander
- 1964 17ft Grady White Pamlico
- 1959 18ft Shoup Princess
- Other Outboards
- Sailboats >
- Non-powered boats >
- Special Projects
-
Inboards
>
- Marine Surveys
- Boat Trailers
- Boats For Sale
- Merchandise
- Contact
- Links
- Meet the crew
 RSS Feed
